9 Ways to Maximize Your Kitchen and Bathroom
Pros share their best tips on navigating your kitchen and bathroom upgrades.
Kitchens and bathrooms are two of the most heavily used areas in almost any home, and are ultimately proving to be some of the best areas to invest in when it comes to renovating. From proper lighting to pre-planning, and even cabinet care, these pros share their best tips on navigating your kitchen and bathroom upgrades.
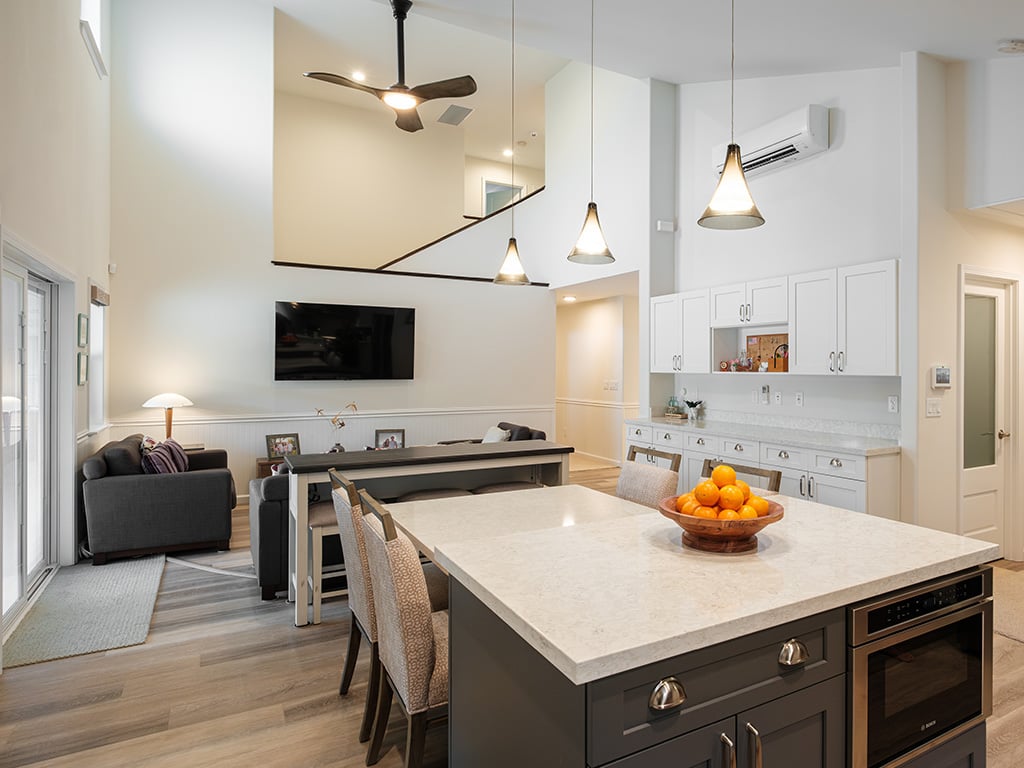
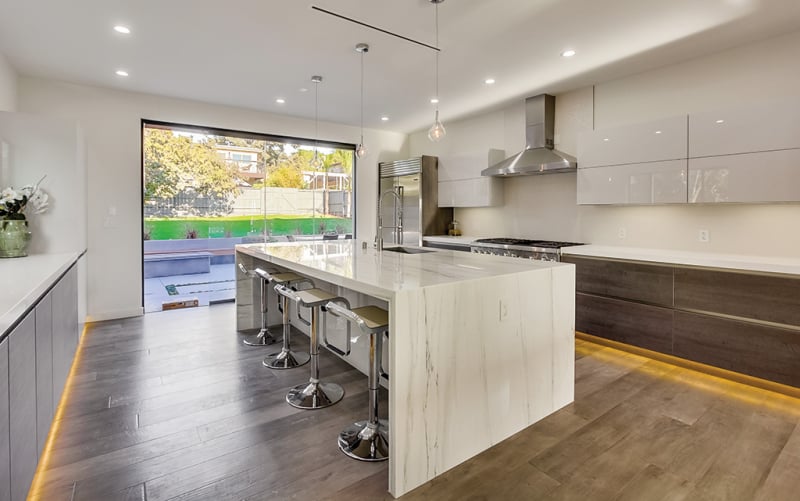
1. Utilize Multiple Light Sources
“Use multiple layers of light to ensure proper coverage,” says Tom Ogawa, owner of Lighting Concepts and Design, on lighting up a room. “A good example of this would be to incorporate recessed lighting, a chandelier or a flush-mount fixture and table or floor lamps together.” Each fixture fills a different need, and can be broken down into three general categories: task lighting, accent lighting and ambient lighting. In Ogawa’s example, the recessed lighting is considered to be either task or accent lighting, while the flush-mount fixture and the chandelier are considered ambient lighting. “All of the light sources play a different role, and as a result, you will have an evenly illuminated room that should feel spacious and comfortable,” he concludes.
2. Don’t Forget to Check the Temperature
As LEDs start to become a popular choice for homeowners, it’s important to consider the color of these lights, based on how you intend to use them. Color temperature, measured in kelvins, indicate the hue of light that will be emitted. Lower temperatures will produce a warmer glow, while higher temperatures will produce a cooler, whiter tone. “For the most part, we use ‘warm’ white (2,700 K to 3,000 K) and ‘cool’ white (3,500 K to 4,100 K) in our residential projects,” says Ogawa. Although every project is different, he typically recommends using a warm white in the bedroom and living room, due to the traditional, cozy type of light it brings. Cool white – a crisper, brighter light – is recommended for kitchens, pantries and bathrooms.
Lighting Concepts and Design
1931 S. Beretania St., Honolulu
808-955-9955
lightinghawaii.com
3. Plan Two Steps Ahead of Where You’re At
“If the kitchen is the heart of the home, then the bathroom is its soul,” says Glenda Anderson of Details International. It’s the room we begin each day in, and the one that finishes it. Knowing this, consider future-proofing your bathroom with a curbless shower to enhance accessibility, especially when mobility declines. And if you must include a tub somewhere, then consider adding a wet room to your bathroom’s design. Scrap pieces of lumber can also be used to add blocking behind shower walls, should you need to install and anchor grab bars later on. “The leading cause of death in homes is slipping and falling in the bathroom,” warns Anderson. “I take this seriously; it really is a matter of life and death.”
Details International
560 N. Nimitz Highway #104, Honolulu
808-521-7424
details-international.com
4. Put a Checklist Together
Before you begin a kitchen or bathroom renovation, prepare a checklist of questions and topics that you would like to discuss with your architect, contractor or designer. Hinano Nahinu, certified kitchen designer at Pacific Source, shares a few examples to help get your list
up and running:
When considering cabinets, think about materials. Do you want laminate, melamine, wood veneer, or lacquered? Plywood construction? Be sure to also ask about lead times, product customization and warranties.
Be sure to also ask about lead times, product availability and warranties.
Identify your desired kitchen style. Contemporary? Modern? Transitional?
Will there be enough electricity to power any new appliances you might have? Be sure to discuss the electrical needs of appliances and lighting fixtures in your project.
5. Get to Know Your Project
To set a realistic timeframe, it is important to understand the scope of work your project requires, and determine whether or not it will require a permit, says Nahinu. Homeowners can visit hawaiicounty.gov/pw-building-permit-info for more information on the building permit process. “If you live in a condo or high-rise, it would also be helpful to contact your building manager and association to obtain a set of house rules for renovations,” advises Nahinu. “Some buildings have specific codes and rules to follow.” Each additional step in the process will add more time to your project, prolonging a realistic completion date.
Pacific Source
180 Sand Island Access Road, Honolulu
808-450-2400
pacsource.com
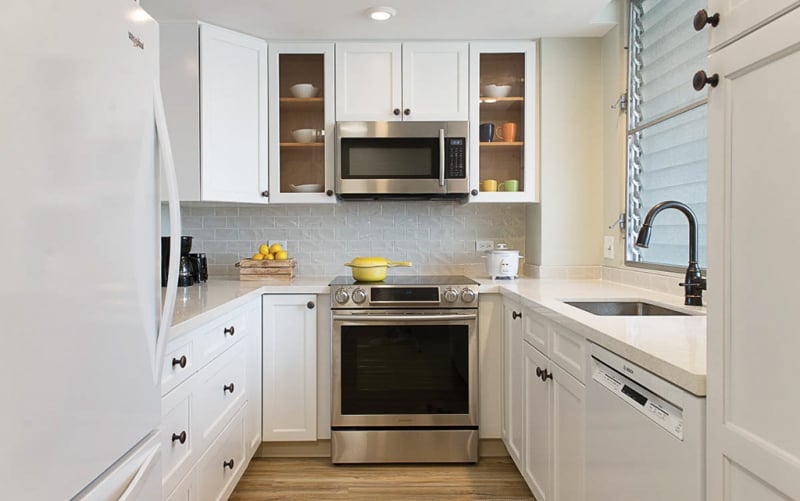
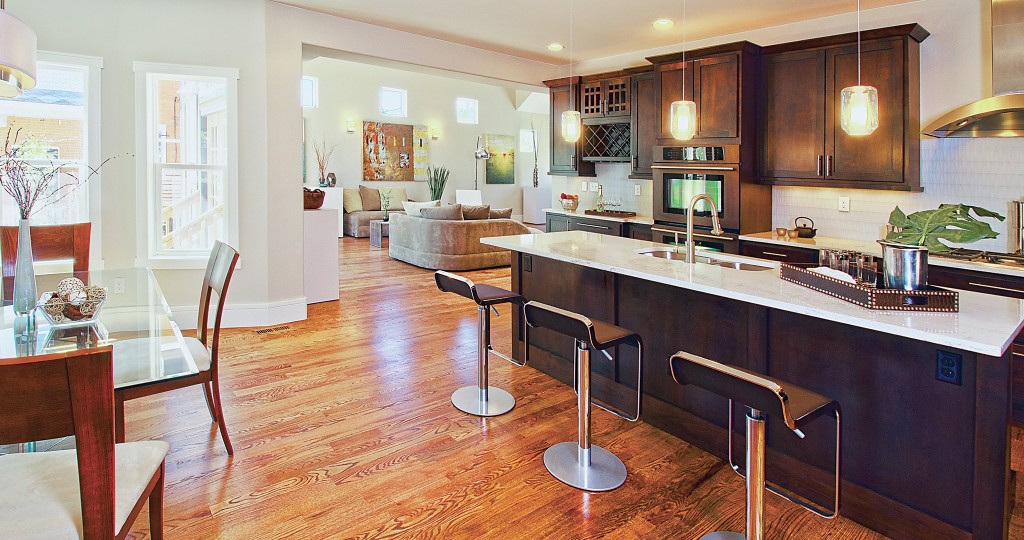
6. Take a Look at the Big Picture
It wasn’t that long ago when stainless steel appliances reigned king of high-end kitchens – a statement of wealth and refined taste. But as stainless steel slowly took over the market, along with innovations in new materials since then, these “appliances may start looking dated,” says April Acquavella of Bekin Cabinets. When designing for her clients, Acquavella doesn’t simply default to stainless steel. Instead, she “look(s) at the aesthetic of the kitchen in its totality.” If a client has white or off-white cabinetry, then “white appliances provide the best integration, especially in a smaller kitchen,” she explains. White cabinets, in particular, can be designed to achieve a very similar appearance to that of custom panel appliances at a much lower price point.
Bekin Cabinets
565 Kokea St. #G6, Honolulu
808-843-2284
bekinhawaii.com

7. Expand Your Bathroom with Clever Design
If you’ve been wanting a bigger bathroom, the solution may be in changing its design rather than increasing the square footage. “There are many tricks to making a bathroom feel bigger,” says Marshall Hickox of Homeworks Construction. “In design, a contemporary theme can be less busy – and material and fixtures can be less bulky.” Hickox suggests keeping color choices to a minimum and to use lighter shades. Add wall niches and choose colors that will complement its depth. For bathrooms with a narrow footprint, consider accenting the end wall “to draw the eye to the length rather than accent the narrowness,” he says.
Homeworks Construction
2111 S. Beretania St., Honolulu
808-955-2777
homeworkshawaii.com
8. For a Continuous, Integrated Bathroom Counter and Sink, Consider Acrylic
Like other solid, manmade surfaces, acrylic is nonporous, meaning it never has to be sealed. “Everything is quartz and natural stone [now], but we still use it a lot in bathrooms,” says Randall Omoto of Homeowners Design Center. He ascribes this popularity to acrylic’s ability to accommodate an integrated sink into the countertop, creating a desired seamless look. “I don’t think it’s ever going to go away,” shares Omoto, of acrylic’s application in residential projects. However, homeowners should be careful as acrylic surfaces are easy to scratch, and although it can be repaired, will result in an additional expense to maintain it.
Homeowners Design Center
1030 Kohou St., Honolulu
808-847-0216
homeownersdesign.com
9. Show Your Cabinets Some TLC
Whether it’s the occasional splash with dishwater or a minor scratch with utensils, everyday occurrences can start to take their toll on your kitchen cabinets. But a little maintenance can go a long way, as recommended by the experts at Golden Cabinets and Stone. For standard surface wipe downs, homeowners are advised to use a damp towel or cloth. Avoid using harsh chemicals or ammonia-based products, as it could strip or stain the color of your finish. To maintain or restore your cabinets’ shine, spray Pledge® into a new towel and apply it to your cabinets for an even coat. Be careful not to spray Pledge® directly on your cabinets, as it could leave speckles in certain areas.
Golden Cabinets and Stone
1299 Kaumualii St., Honolulu
808-836 -8181
goldencabinetsstone.com